No time to catch a natural tan? No problem. Follow my 4-step guide to faking it until you make it.
1.) Preparing Your Skin (If You’re Tanning For The First Time Or You Haven’t Recently)
If you’re tanning on fresh skin, what you need to know about preparing your skin is:
Getting Your Skin Ready
Remove Unwanted Hair – Make sure you de-fuzz your skin from hair at least a day before you want to apply your fake tan. Shaving can take off the top layer of your skin cells, so if you do just before tanning it may have patchy side effects.
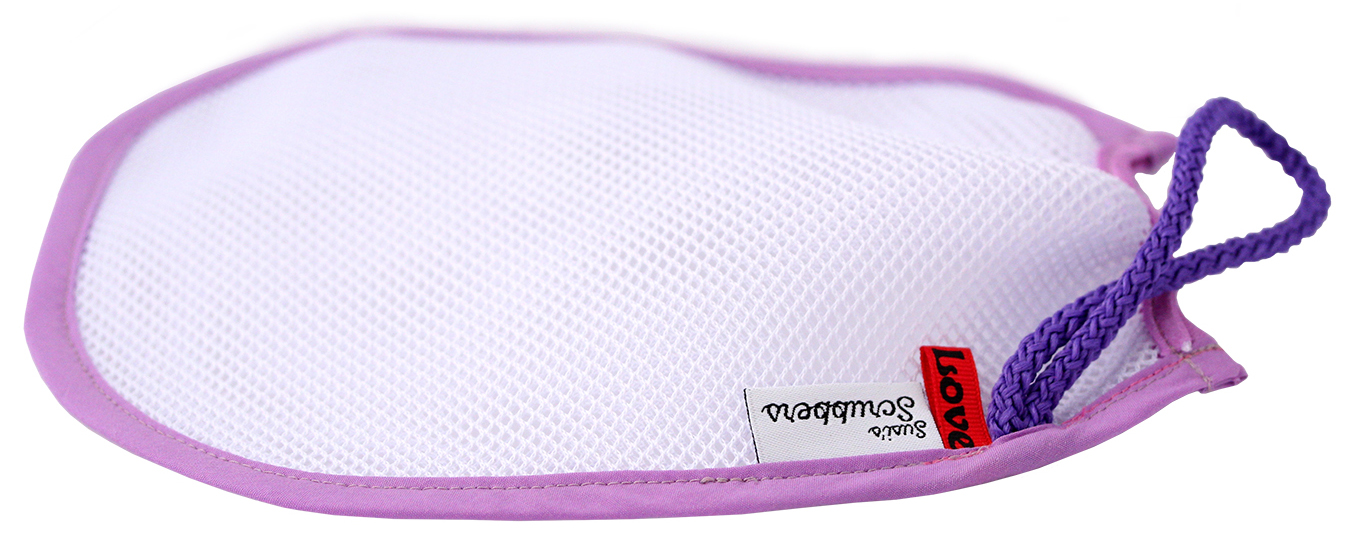
Always Exfoliate – This is a must at getting your skin ready for tan, exfoliating is made easy with Susi’s Body Scrubber (our review here). The high-quality design makes the job easy; you simply pop your hand inside the mitt alongside your favourite soap and you’re ready to go. The design also makes the scrubber very effective, and the material is quick to dry (no gross damp smell) and the handy hook allows you to hang it up to dry without taking up valuable bathroom surface space.
Products To Apply Before Your Tan
Apply a lightweight and oil-free moisturiser to your dry spots on your skin. These areas are commonly your knuckles, palms, cuticles, elbows and feet. It is important to do this as these areas absorb a lot of colour, so by hydrating these areas a barrier is created between your skin and the fake tanner – this will help to achieve a more natural-looking tan.
When To Apply Your Tan
I would recommend applying the tan in the evening before you go to sleep – the developing time is generally the same duration as a night’s sleep.
2.) Applying The Tan
What you need to apply the tan is simply a tanning mitt and your chosen tan. Use a tanning mitt rather than your fingers to apply the tan as the mitt provides a flat, smooth surface for even coverage, and will prevent streaks from occurring.
Step 1 – Grab your tanning mitt, apply a pump of tan and spread the product out evenly on the mitt by scrunching your hand up into a fist.
Step 2 – Focusing on one body part at a time (I usually start with my feet and work my way upwards to my neck) apply the tan over your body in circular motions. Remember to apply the tan over the hands, and between each finger – hands are the tell-all area on whether you tan is real or fake.
Step 3 – After your tan is applied, and you have excess formula on your palms or anywhere else you don’t want it, use an oil-free makeup wipe to carefully remove the product from your skin. Also, wipe down the cuticles on your feet and hands to prevent obvious staining.
Step 4 – Allow your tan to dry and settle into your skin for a few minutes before you get dressed. Now it’s time for your tan to develop…
TOP TIP: When using instant tan aim to work as quickly as possible in order to achieve an even tan, as the product dries quickly.
REMEMBER: Don’t worry if the tan looks slightly patchy at the wet applying stage, it will settle and as long as you have applied the tan to your entire body, when you wash it off you will be left with an even tan. It will never look perfect at the wet stage.
3.) Washing It Off

After you have left your tan to develop overnight, it is time to wash it off to see the results. This is the easiest and the best part. To do this use warm water and using no exfoliating products pat your skin with a towel to dry it. Aggressively drying your body with a bath towel can lift away the tan.
To prolong your tan, keep your skin moisturised and hydrated. Hot showers and baths can dehydrate skin, which leads to faster flaking and peeling. Turn the heat down and switch to cooler showers, to help lock in the moisture and colour.
4.) Preparing Your Skin For New Tan
After a week or so depending on your lifestyle, you may notice your tan has started to fade or is becoming patchy. Now it’s time to… repeat after me: EXFOLIATE, EXFOLIATE, EXFOLIATE.
This is essential and will help you to achieve a better and more even tan when you re-apply, you should NEVER apply more tanning product over fading/patchy existing tan – I promise you the result will not be pretty. This is because if dead skin cells are still on your skin and slough off the day after you tan, your faux tan is going to go with them.
I would advise (if possible) exfoliating in the morning before you tan in the evening, as this will give your skin time to rest and settle before applying the tanning product again, you will find this gives you the best results.
TOP TIP: When showering and exfoliating ensure the water is warm and has coated your skin as this will open your pores and make scrubbing the tan off easier.
So, now it’s time to jump in the shower and grab your body scrubber, apply soap or shower gel (ideally oil-free), slip the handy mitt over your hand and scrub away that old tan. At the end of your shower, wash the rest of the lather off using cool water, this will close your pores and prevent the pores from absorbing the formula which can result in an uneven tan.
Also, drying off with a bath towel will help to remove any spots you may have missed in the shower.
TOP PRODUCT: Susi’s Body Scrubber is essential for removing tan, it is gentle on your skin while getting the job done. As the scrubbers are available in six different colours, I would recommend dedicating one to tan and having another for day-to-day.
I hope you found this tanning guide helpful, what are your top tips for tanning?