We are all staying at home and safe due to Covid-19. This means that we are not getting our usual treatments at the salons. Although our health is a higher priority than these aesthetic treatments, these little things can make us feel good about ourselves – and the little things matter right now!
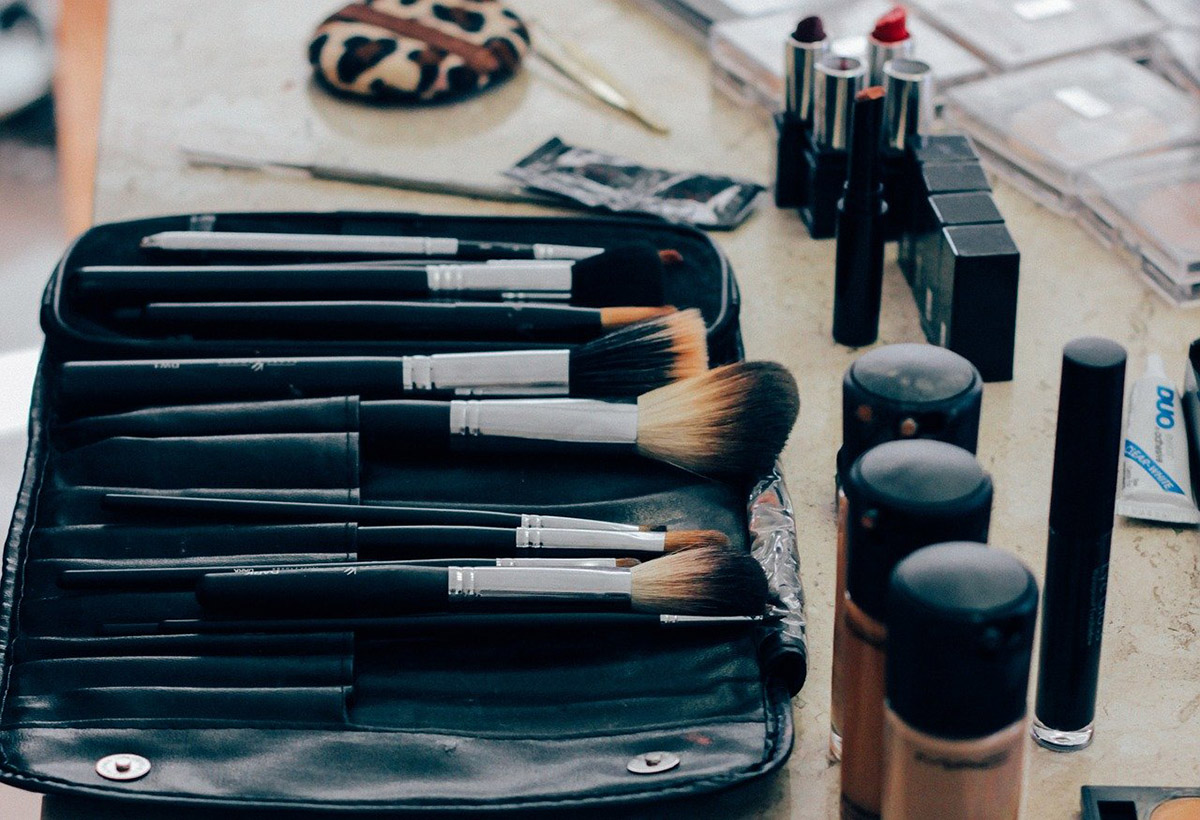 That is why in this post, I am going to share with you how to achieve salon treatments from the comfort and safety of your own home!
Eyebrows
They have become a huge trend in recent years, everyone wants to have their eyebrows thick, full and arched. Whether you usually get them waxed or threaded, you will notice they grow back at a fast rate.
If you are anything like me and overplucked/ruined them in your teen years, you don’t want to ruin the work your beauty therapist has achieved – I don’t usually touch mine between appointments. At the same time, you don’t want to lose the shape that you have also achieved over time.
Therefore, what I am doing to maintain my eyebrows is simply using an eyebrow brush to put them in the correct place, taking my tweezers and plucking only the ones that are clearly out of place – don’t get tweezer happy!
Now you have neatened the shape they will look much more presentable. If you usually get your eyebrows tinted this is another treatment that is possible to do at home. You can find home eyebrow tinting kits at your local drug store or online, although if you don’t feel confident you can always just fill them in with make-up until your next appointment.
Tan
If you are a regular sunbed or spray tan user than you may be missing your beloved tan. If so, why not use this time to perfect home fake tanning? Not only will it save you money, but it is also better for your skin than using sunbeds. Follow my 5-step guide to the perfect tanning routine:
- Exfoliate your body in the shower using a Susi’s Scrubber body scrubber. This will open your pores to allow the tan to go on more evenly, also removing dirt and dead skin cells. Here is a scrubber we recommend for this!
- Apply moisturiser to the drier areas of your skin, which is your elbows, knuckles and knees. Otherwise, the tan will stick to these areas, creating dark patches to give away that your tan is fake.
- Apply your tanning product to a mitt and apply in circular motions over your skin. Working from toes to head, using the guide color to ensure you haven’t missed anywhere.
- Wash off following the product guidelines. Pat dry your skin to prevent ruining the tan.
- Moisturise after your shower and each day to maintain the tan.
I hope this helps you to achieve the perfect tan at home. When your tan begins to fade or become patchy it is time to re-apply. To do this you first want to remove the product left on your skin, grab your Susi’s body scrubber and in the shower or bath use it alongside warm water and soap to gently remove the tan.
Hair
One of the biggest issues those of us who dye our hair regularly will face is our roots starting to come through. To combat this, there are two options you can either attempt to dye them yourself at home or use a product to cover them up. I would advise that you only dye your hair if you feel confident in doing so, because there is nowhere you can currently go to get it fixed.
If you do decide to dye your roots at home, ensure you follow the product guidelines and follow the technique of a professional – you can find online tutorials to learn the correct method. Another alternative is to use a colored spray on your roots. These are immensely popular for those allergic to hair dye or to prolong the time before returning to the salon for treatment. You can find these online or at your local drug store, many big familiar brands sell this product.
If you are an extension wearer you may find your extensions are growing out and becoming difficult to manage. It may be time to remove them! If you have tape extensions, you can do this at home. To do this, you can find extension removal formulas online, but due to everyone being in the same predicament, they are a rare find.
The DIY version is to simply cover your entire head in conditioner, ensuring the tapes are fully covered. Leave this to soak for 45 minutes, after this time use a comb to gently brush through your hair – being very gentle to avoid losing strands of your natural hair. You will find the tape extensions begin to fall out.
Nails
For me, freshly manicured nails are something that always makes me feel great. To have chipped or broken nails is not a pleasant sight. Why not learn to give yourself a home manicure? Follow my 5-step guide on how to do so.
- Begin, by removing your current nail varnish with the use of a nail varnish remover and cotton wool.
- After the removal of old nail varnish, soak your nails in warm water to soften your nails and cuticles.
- After your cuticles have been softened, use a cuticle pusher or clipper to gently push away or remove them. This will improve the overall look of your nails and help you to achieve a professional manicure.
- Next, you want to shape your nails. This could be to a round or square shape, choose what you prefer. The key to a professional-looking manicure is to ensure your nails are all a similar shape and size.
- Finally, its time to paint your nails. If you struggle to stay on your nail place petroleum jelly around the border of your nail – after painting your nails, you can then remove this to avoid stained hands.
I hope this article will help to DIY your regular salon treatments!